Making a black and white print in the darkroom takes a lot more time and skill (or at least a different set of skills) than editing a digital file and making an inkjet print. That goes double for toning a print. Sepia-toning an image in Lightroom requires one mouse click and less than a second. For that reason, sepia-toned images are very common online, to the point that many photographers feel the look is overdone and cliché.
That may be true, but not for darkroom prints. In the darkroom, sepia-toning requires going through the process of making a fiber-based print and developing and fixing it—that requires an hour or more to get a satisfactory print. Then, to tone the print, you need to make three solutions, mixing four different chemicals, and create two separate chemical baths. That takes a while. Next, you submerge the print in the first solution to bleach it, then pop it into the toning bath for varying lengths of time, depending on the tone you’re after. Then you have to wash it for half an hour. The whole process takes at least two hours. That’s why sepia-toned digital images are ubiquitous, while sepia-toned darkroom prints are not.
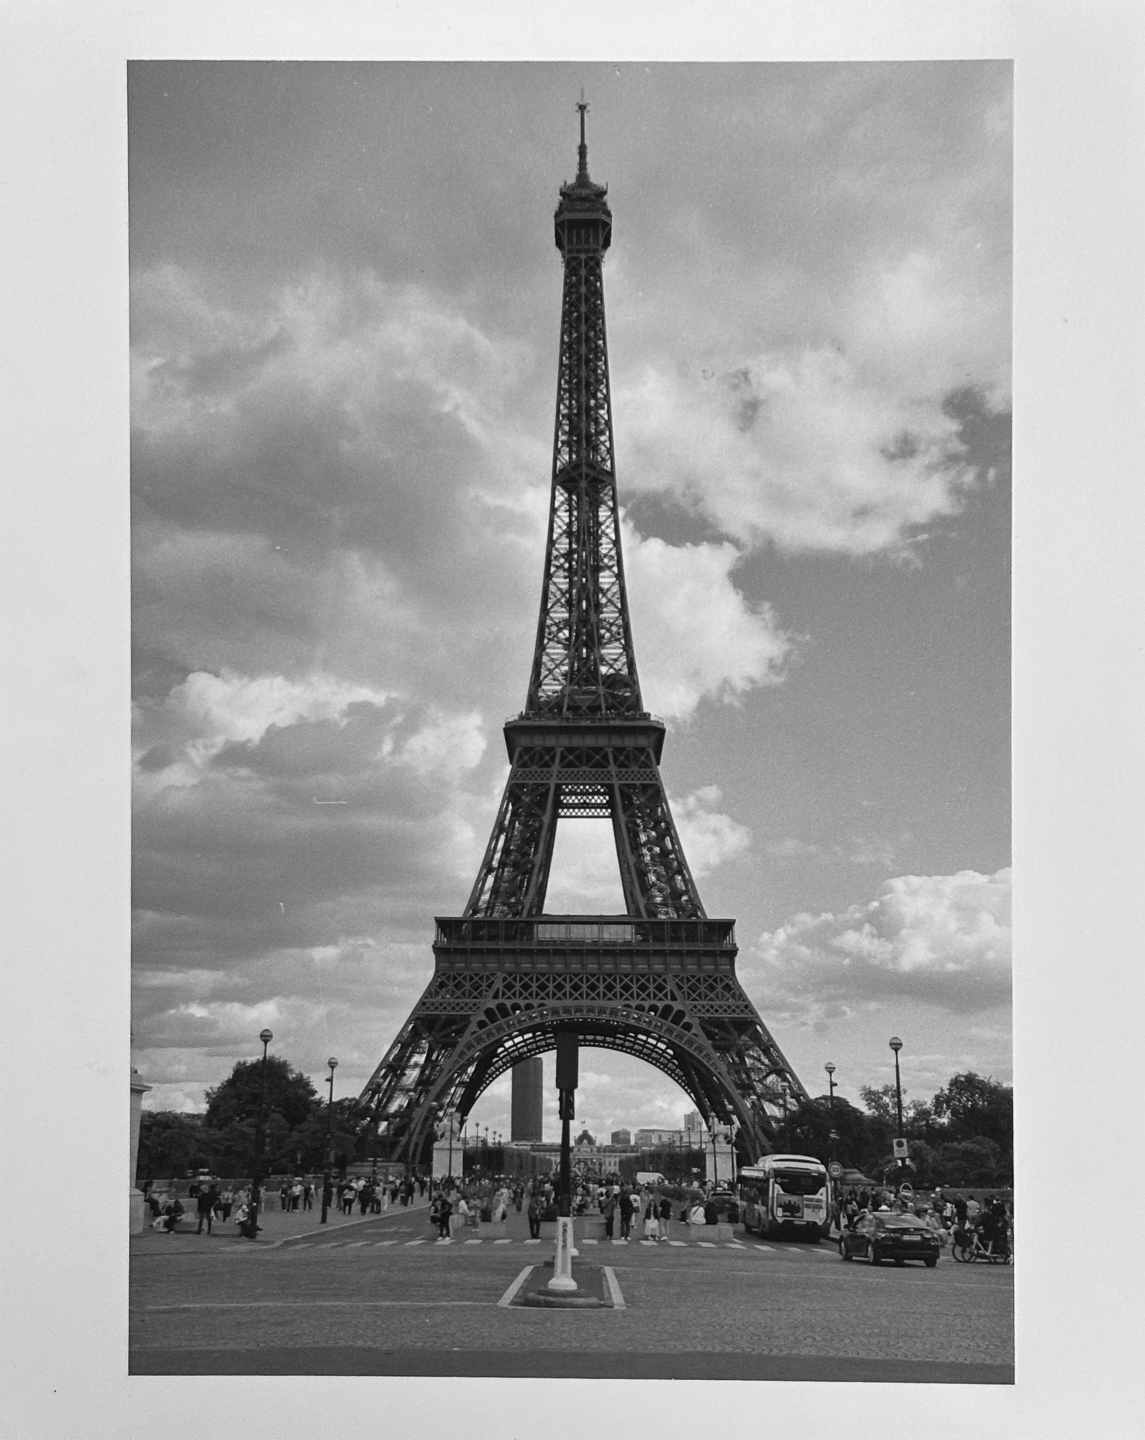
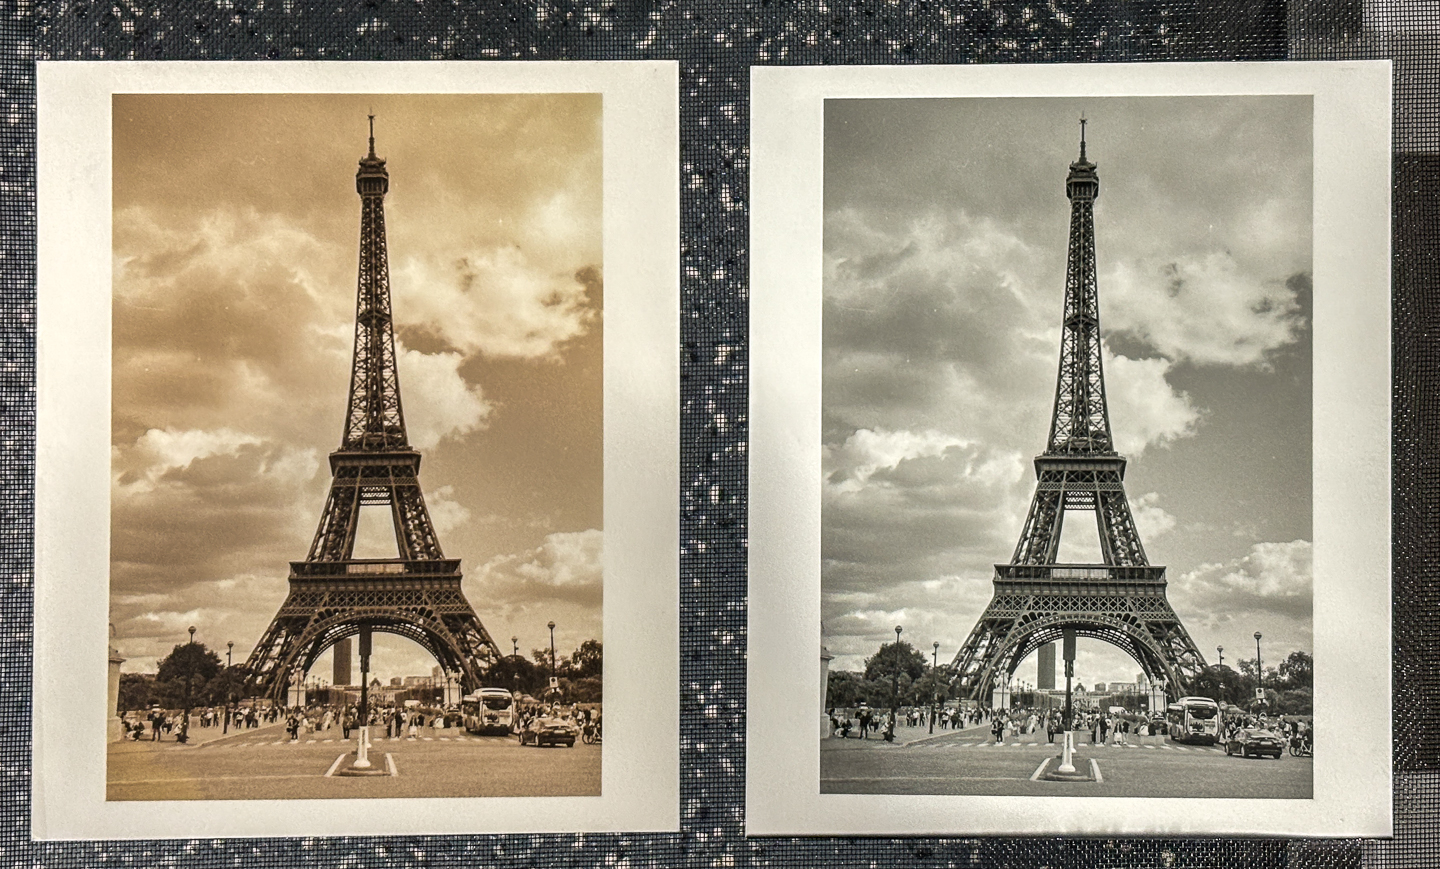
Here’s an example of sepia toning a print from France. This is an iPhone photo of my untoned 8×10 print. (Excuse the quality—I had to take a photo of a print to accurately represent what it looks like, so it’s not the quality one gets starting from a digital file.)
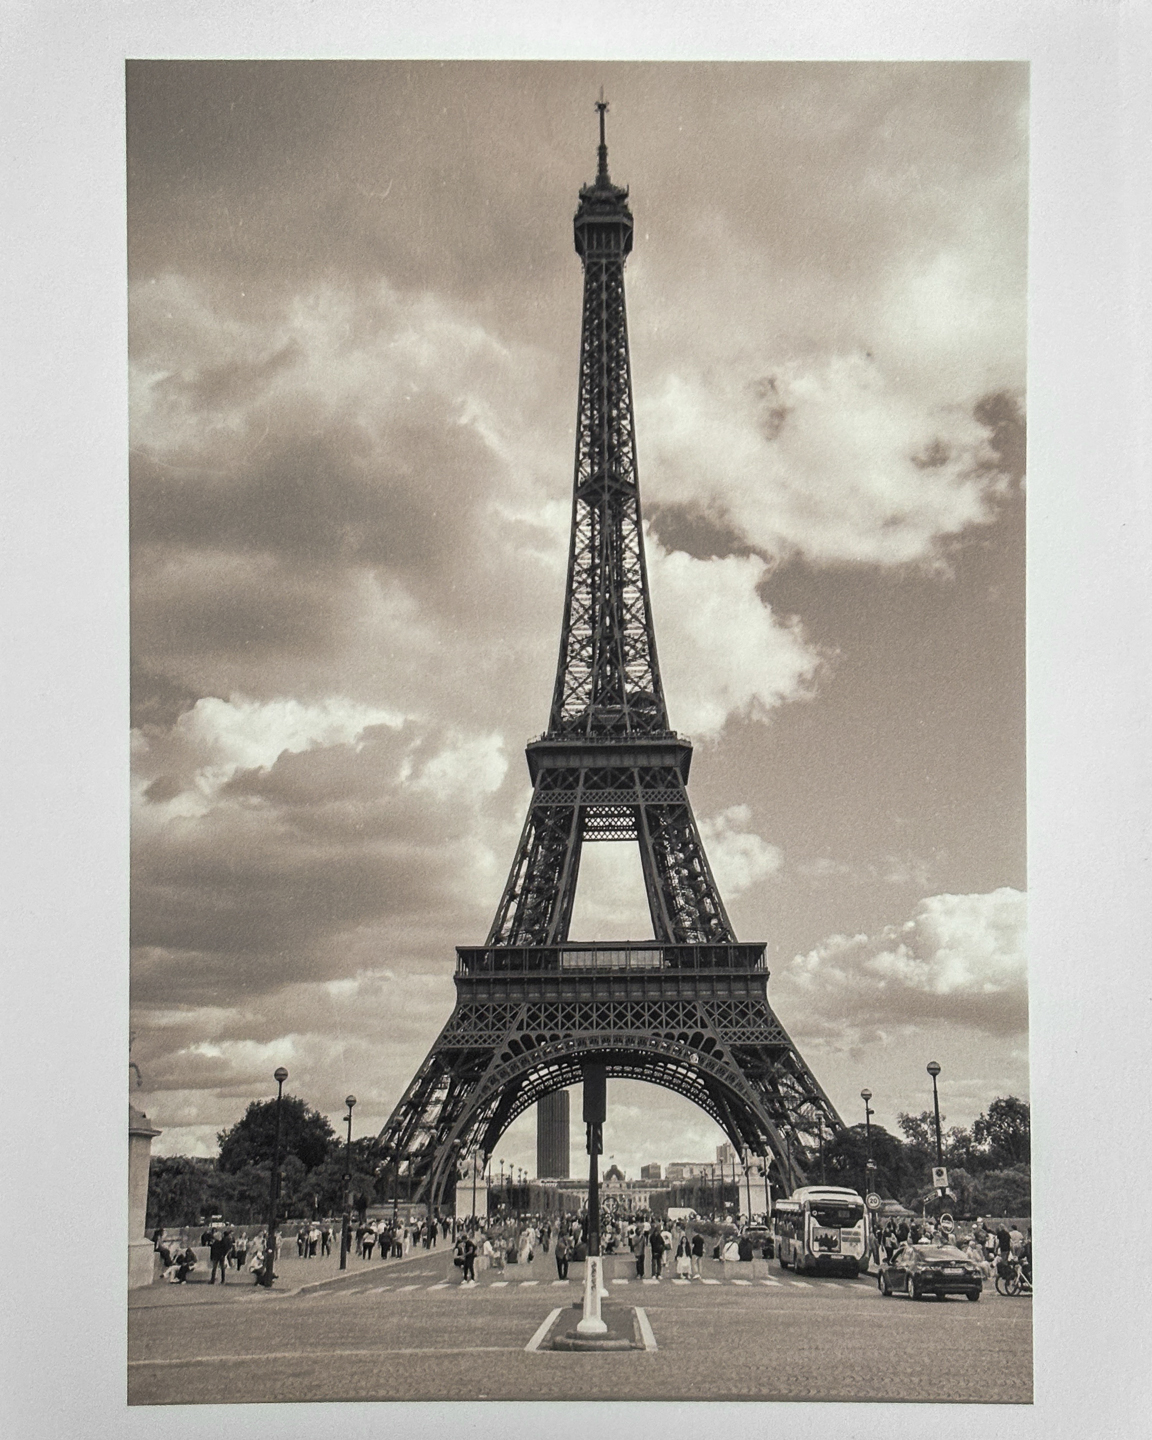
This is the toned print.
Here are the two prints side-by-side for comparison on the drying rack in my darkroom.
A toned print of Mont St. Michel.
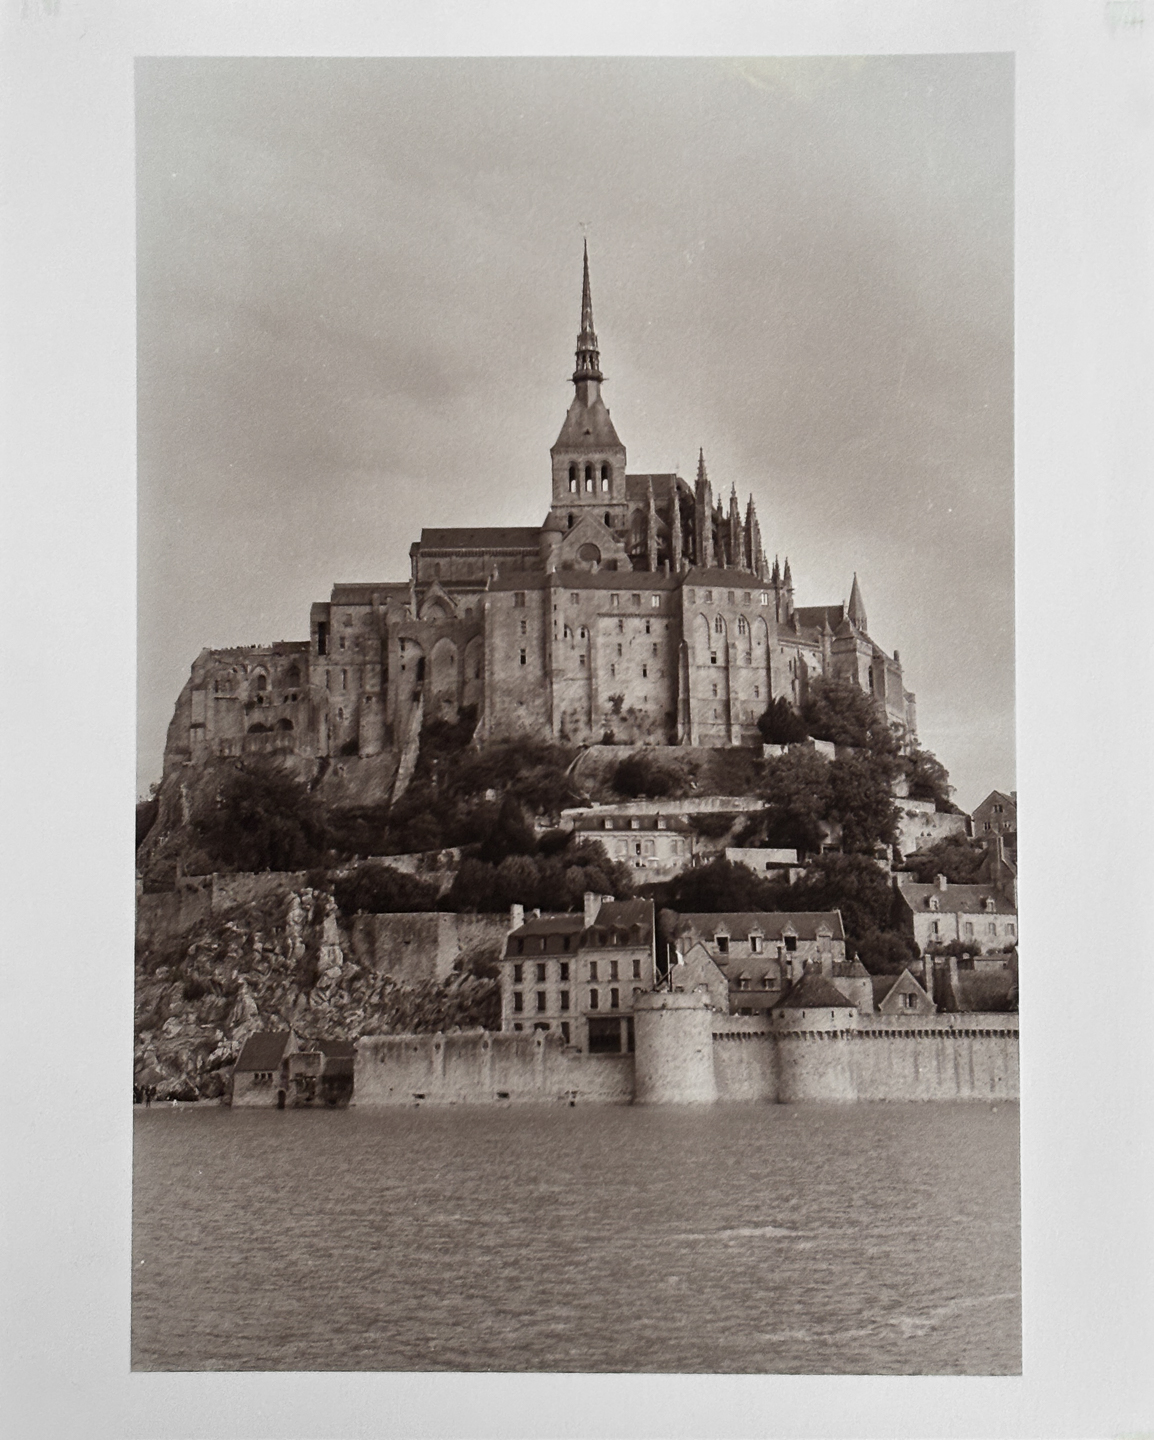
I have to really like a photo, and the subject has to make sense in sepia—as these two subjects do—for me to tone it, because it’s a lot of work. But for the right photo, the look separates it from other prints of the same subject, and when you’re done, you’ve made something unique.